

My 2016 Toyota Highlander just passed 191,000 miles, and the factory radio is the weakest thing in it. It makes phone calls over Bluetooth, and that is about where its talents end. No turn-by-turn directions on the dash. No texts read out loud. No way to check a map without holding the phone in my hand. The rest of the car runs fine, so I was not about to trade it in over a radio.
The fix I settled on was a portable screen from Antika, not a new radio. It is a 10.26-inch wireless CarPlay display that sits on the dashboard, draws power from the 12-volt socket, and talks to my iPhone without a cable. The whole install took about twenty minutes on a Sunday afternoon, and I cut exactly zero wires. That matters, because I am not a car electronics guy. I am an outside sales rep who puts about 30,000 miles a year on this Highlander, most of them on the same 70-mile stretch of US-65, and for a long time that drive meant an iPhone in a vent mount and a cable draped over the shifter.
The Antika Screen I Mounted in About 20 Minutes
This is the unit that sits on my dash now. Apple CarPlay and Android Auto in a car that came with neither, powered by the 12-volt socket, no wiring and no factory support required.
Amazon Check Today's Price on Amazon →Why a Portable Screen Instead of a New Radio
Swapping the factory radio in a 2016 Highlander for one with CarPlay is a real project. A decent install means a dash kit, a wiring harness, and usually extra adapters if you want to keep the steering wheel buttons and the factory backup camera working. You can pay a shop to do it, and that costs real money. You can also do it yourself in the driveway, but on a car with 191,000 miles and cloth seats, I had a hard time talking myself into a big radio bill.
A portable screen costs a lot less, installs in minutes, and comes out in thirty seconds if I ever sell the car. The tradeoff is worth being honest about: it is an aftermarket screen sitting on the dash, with a cord that runs to the 12-volt socket. It will not look like it came from the factory, because it did not. That does not bother me. You have to decide whether it bothers you.
What You Need Before You Start
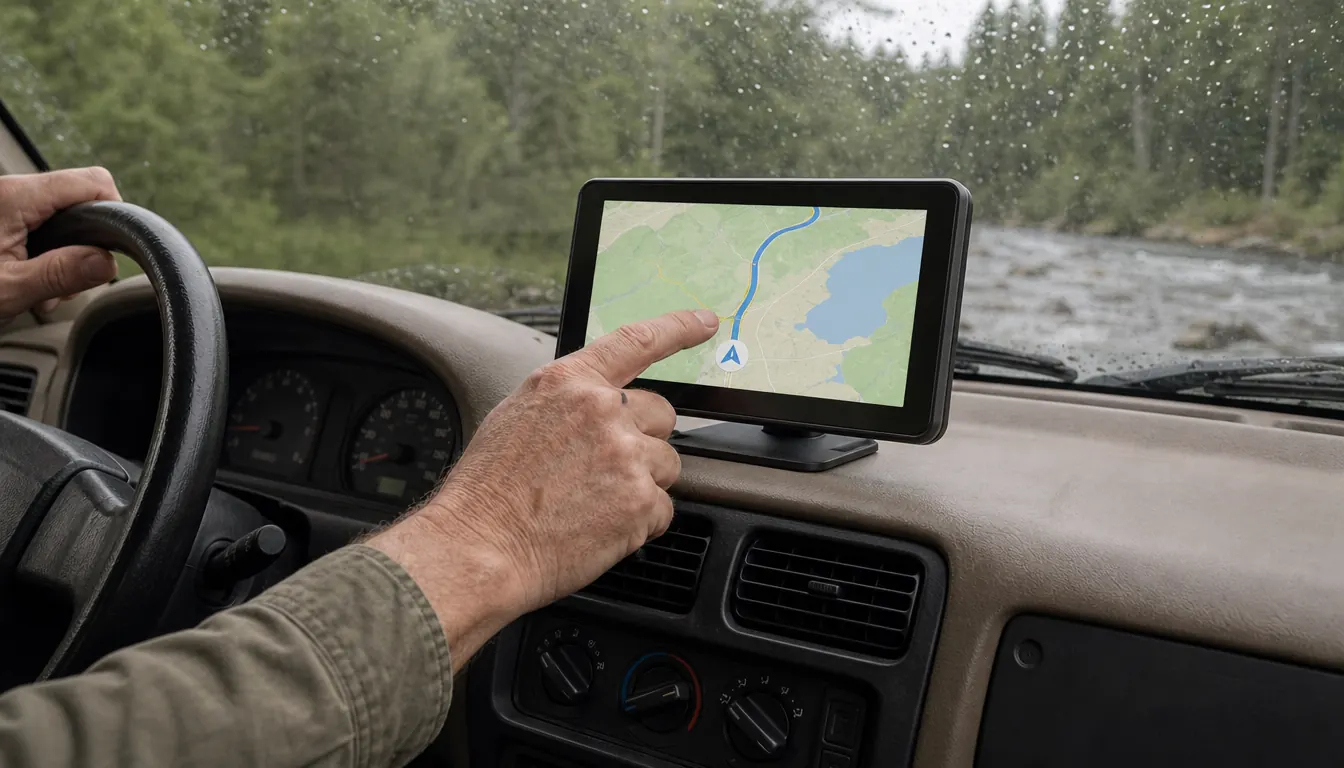
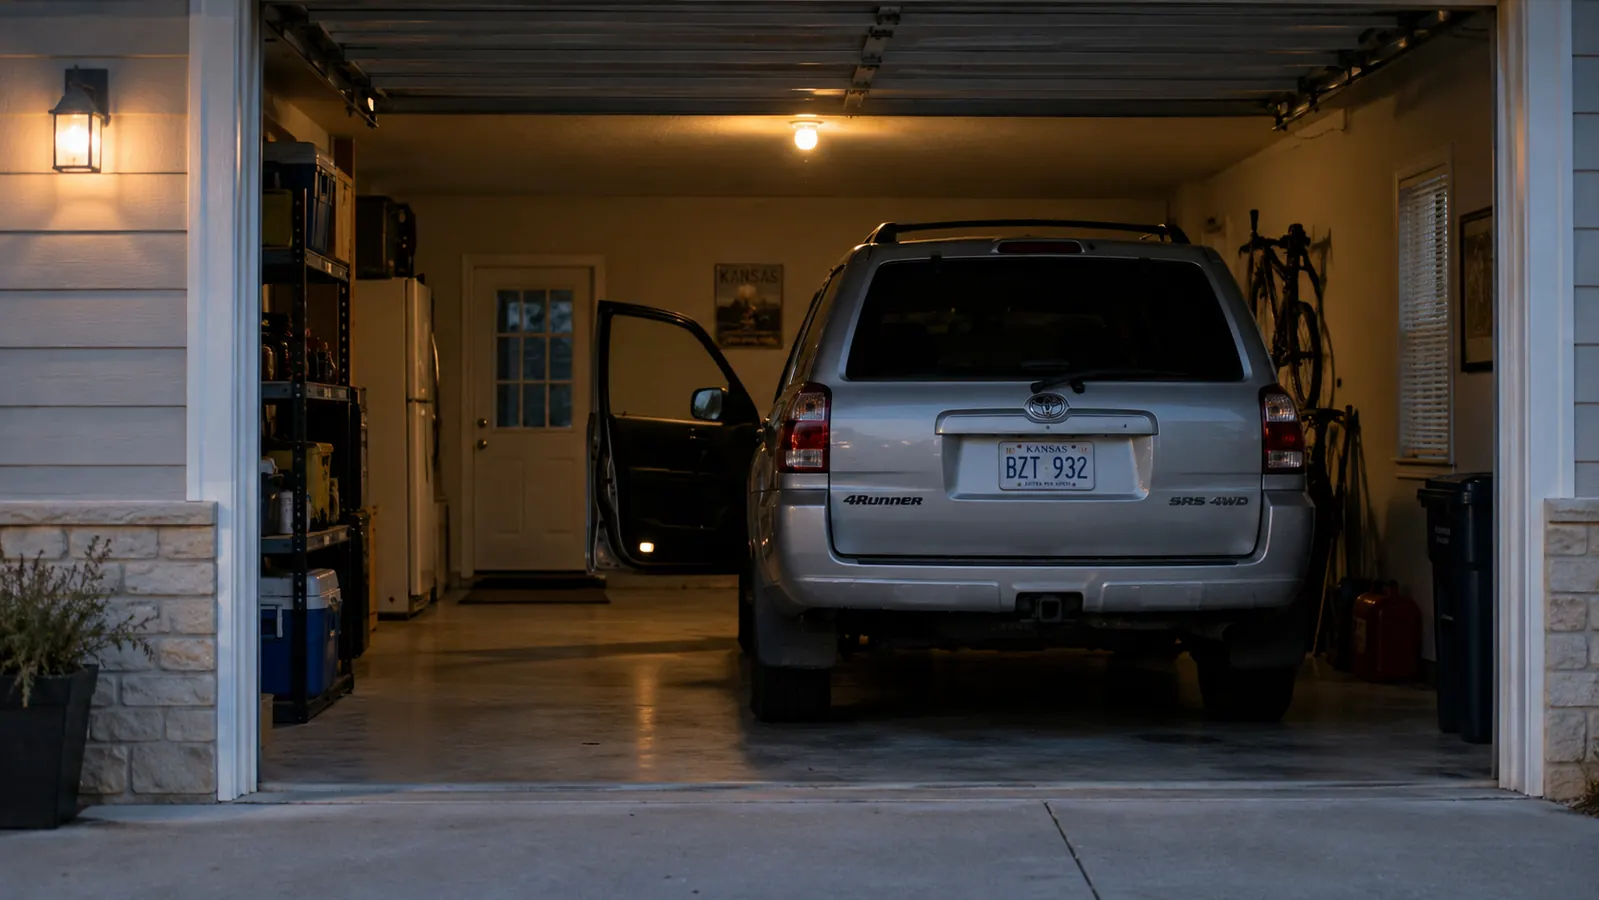
Nothing exotic. Your phone needs to support CarPlay or Android Auto, and any iPhone from the last several years will. You need a free 12-volt socket, roughly a half hour for the first install, and something flat and plastic for tucking the cable. I used a trim tool, but a credit card works. I did the whole thing in my single-bay garage under one overhead light, so a lift and a shop are not on the list.
The Install, Step by Step
Each step below is how I did mine. If you have mounted a phone holder before, none of this will feel strange. The only real skill is deciding where things go before you stick anything down.
Step 1: Choose Where the Screen Sits
Placement is the decision that matters most, because a 10.26-inch screen is not small. It needs to sit high enough to glance at without taking your eyes off the road, and close enough to reach when you need to tap. I tried the center of the dash first and then the left corner near the windshield post. The left corner won. It sits in my line of sight, does not block the vents, and stays clear of the passenger airbag zone, which is the one spot you cannot use.
Portable screens of this size are usually held in place one of a few ways: a dash pad with an adhesive base, a vent clip, or a mount that drops into a CD slot. You want whichever one holds the screen steady in your car. Before anything sticks, hold the screen where you think you want it and sit in the driver seat. Move it until the angle looks right from where your eyes will actually be during a drive.
I moved mine twice before I settled, because the first spot looked fine from outside the car and wrong from the driver seat. Test it the way you will use it, with the seatbelt on and your hands on the wheel, before you commit to a location.
Step 2: Run the Power Cable
The screen draws its power from the 12-volt socket, so the cable has to travel from the mount down to the socket without dangling across the radio, the shifter, or your lap. Start at the top and tuck the wire into the seam where the windshield meets the dash. From there, work it down the side. Most cars have a gap you can tuck into with a trim tool or the edge of a credit card. Follow the edge of the dash around toward the passenger side if you need to. The cable is long enough to route almost anywhere in the cabin.
Two things to watch. Do not run the cable across the driver footwell where your heel can catch it, and keep it away from the steering column and any seat track that could pinch it. I routed mine down the passenger side of the center console, and it has not moved in two months of daily driving.
On the passenger side, keep the cable below the top of the dash so it does not cross the airbag cover. You want the wire tucked and out of sight, not floating where it can catch on a knee or a bag.
Step 3: Plug the Adapter In and Confirm Power
Plug the cable into the screen first, then push the 12-volt adapter into the socket. Within a few seconds the screen should light up and show its home screen. If nothing happens, push the adapter in harder and wiggle it. Some 12-volt sockets in older cars are picky about how deep a plug seats. My Highlander's socket is in the center console, and the first time I did this I thought the screen was dead because the adapter had not clicked all the way in.
Find out whether your 12-volt socket stays live when the key is off. Mine shuts off with the ignition, so the screen can stay plugged in. If yours stays live, unplug the adapter when you park, because a screen left on will slowly drain the battery. That is the most common complaint I read about portable CarPlay screens, and in almost every case it is a socket that never turns off, not a screen with a power problem.
Step 4: Pair Your Phone for Wireless CarPlay
On the screen, open the section for CarPlay or phone connection, and the screen will start looking for a phone. On your iPhone, turn Bluetooth on and keep the Bluetooth settings open. The screen should show up as a device, often with the brand in the name. Tap it, compare the code on both screens, and confirm. The phone will ask once more whether it can use wireless CarPlay with this display, and you want to say yes. The first time I did this it took about four minutes, and it tripped me up, because my phone was still paired to the factory radio at the time.
The fix for that is simple if it happens to you. Delete your phone from the factory radio's Bluetooth list so the two units stop fighting over calls. I removed the Highlander's old pairing, and since then the Antika screen connects on its own every morning, usually before I back out of the driveway. Android Auto pairs the same way on an Android phone, over Bluetooth, with Wi-Fi helping to carry the picture to the screen.
And if the first attempt fails, do not sit there poking at it. Forget the device on the phone, restart the screen by unplugging it for a few seconds, and try again. Most pairing complaints I have seen are solved with exactly that.
Step 5: Set the Angle and Build a Daily Routine
Once the screen connects, spend a few minutes making it yours. Turn the brightness down a notch or two for night driving so the cabin does not glow. Tilt the screen to kill glare from the windshield. In my car, the angle that works points the top edge slightly toward the driver. Save your home address in the maps app, because you will use maps more than any other feature.
The routine settles in after a few days. The screen comes on with the car, CarPlay loads, and everything you used to ignore while driving, the texts, the missed calls, the traffic ahead, shows up on a display you can actually read. Two months in, the only time I notice the screen is when I am not using it. The quirks are minor. On hot summer days when the Highlander bakes in a parking lot, I take the screen down and put it in the door pocket rather than leave it sitting in the sun.
My first pairing took about four minutes and one false start. Every morning since, the Antika screen has connected before I back out of the driveway.
What Else Helps
The screen takes over one 12-volt socket, and on long days my phone still needs a charge. The clean answer is a second adapter with USB ports, plugged into whatever free socket the car has. I run my phone off a short cable so it does not turn the cabin into a pile of coils.
Small adhesive cable clips are worth the little they cost. They keep the power cable flat against the underside of the dash and stop it from working loose after months of bumps and temperature changes. The screen glass also picks up dust like any touchscreen, so a microfiber cloth in the door pocket is all you need to keep it readable.
One more honest note. The screen is not invisible. A cable runs from the dash to the socket, and when the sun hits it just right, you can tell it is an add-on. If that detail will drive you crazy, a portable screen is the wrong answer and a proper radio swap is the right one. If you can live with a cord, you get modern CarPlay in an older car for a fraction of the time and money.
The Bottom Line
Two months in, the Antika screen has earned its spot on the dash. It cut the number of times I touch my phone while driving to almost none, it connects before I leave the neighborhood, and the whole job cost me less than a shop would charge just to look at my radio. If your car runs well and simply lacks CarPlay, this is the least painful way I have found to close that gap.
Want the Same Screen on Your Dash?
This is the screen sitting in my Highlander right now. If your car runs great but its radio is stuck in the past, this is the fix I would do again tomorrow morning.
Amazon Check Today's Price on Amazon →