
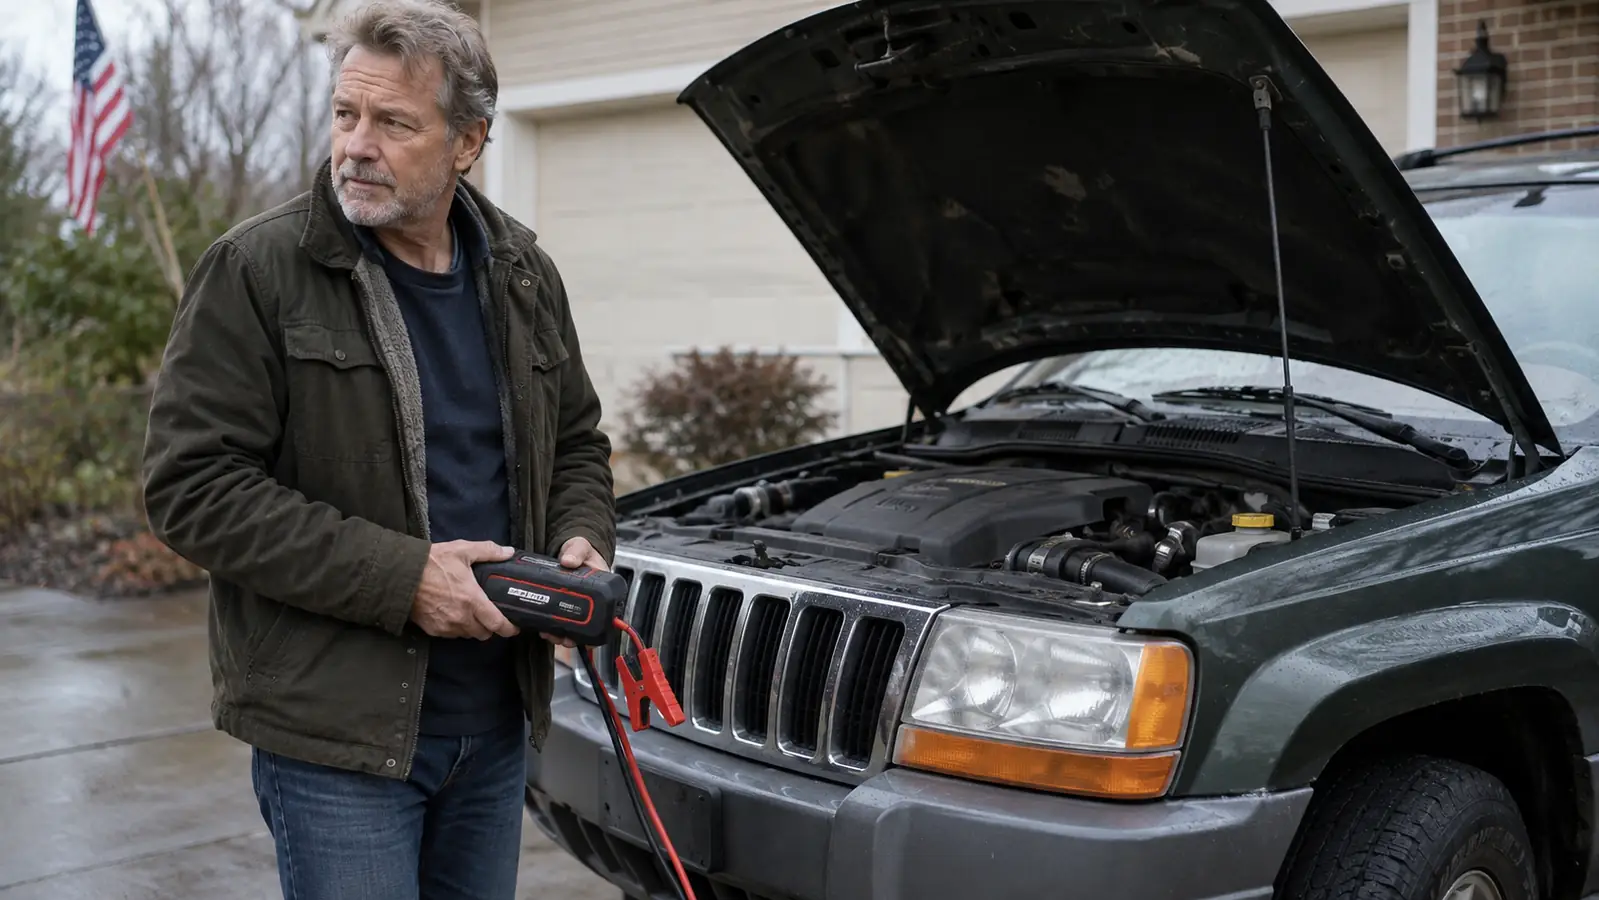
A dead battery does not announce itself politely. One morning you turn the key, the dash lights flicker, and the starter makes a sound like it is trying to clear its throat. If you drive thirty thousand miles a year like I do, you will meet that moment eventually. Most people who carry jumper cables have never practiced with them. They know the cables are in the trunk because they put them there on the day they bought the car, and that is the end of the story. Then the battery dies at a gas station, and they stand there with the hood open and a friend on the phone reading instructions aloud. I have been that person, and I have also been the person who makes it look easy. The difference is a set of steps that I have now done enough times that I do them without thinking.
The steps work the same way whether you use a portable jump starter or a second vehicle. But I recommend the portable kind, and I carry a NOCO Boost GB40 in my Highlander. It does not need another car running, it does not need a stranger to stop and help, and it is small enough to live in the door pocket. In the five years I have carried one, it has started my own car three times and helped a coworker once. This guide is the exact sequence I use, in the order I use it, including what changes when you are bouncing a car off jumper cables instead.
The jump starter that made me put the cables in the basement
The NOCO Boost GB40 has never needed a second vehicle in the five years I have owned it. It sits in the door pocket of my Highlander, it holds a charge for months, and it starts a car with a deeply discharged battery without breaking a sweat. Check today's price on Amazon and put one in your car before you need it.
Amazon Check Today's Price on Amazon →Step 1: Put the vehicle in Park and turn everything off
Before you touch a single clamp, make sure the car cannot move. Shift into Park, set the parking brake, and turn the ignition completely off. If your car has a push button start, press the button once without your foot on the brake pedal. That is enough to kill the engine while leaving the dashboard electronics awake, which matters because the jump starter needs to sense the battery before it will send power.
Then shut down anything that draws power: headlights, radio, climate fan, phone charger. Even with the key off, many modern cars keep a few modules alive, and a deeply discharged battery does not need extra load. When I helped a coworker in a parking lot, his radio stayed on because he had left the car in accessory mode. It cost us an extra minute of confusion, nothing more, but it is the kind of detail that is easy to miss when you are already frustrated.
If you are using jumper cables and a second vehicle, do the same on both cars. Park close enough that the cables reach without stretching, put both in Park, set both parking brakes, and turn both engines off. The order of every step after this assumes you started here. A vehicle that rolls while you are leaning over the fender, or an engine that is running while you connect clamps, is how a four minute job turns into an insurance claim.
Step 2: Find the battery and check the terminals
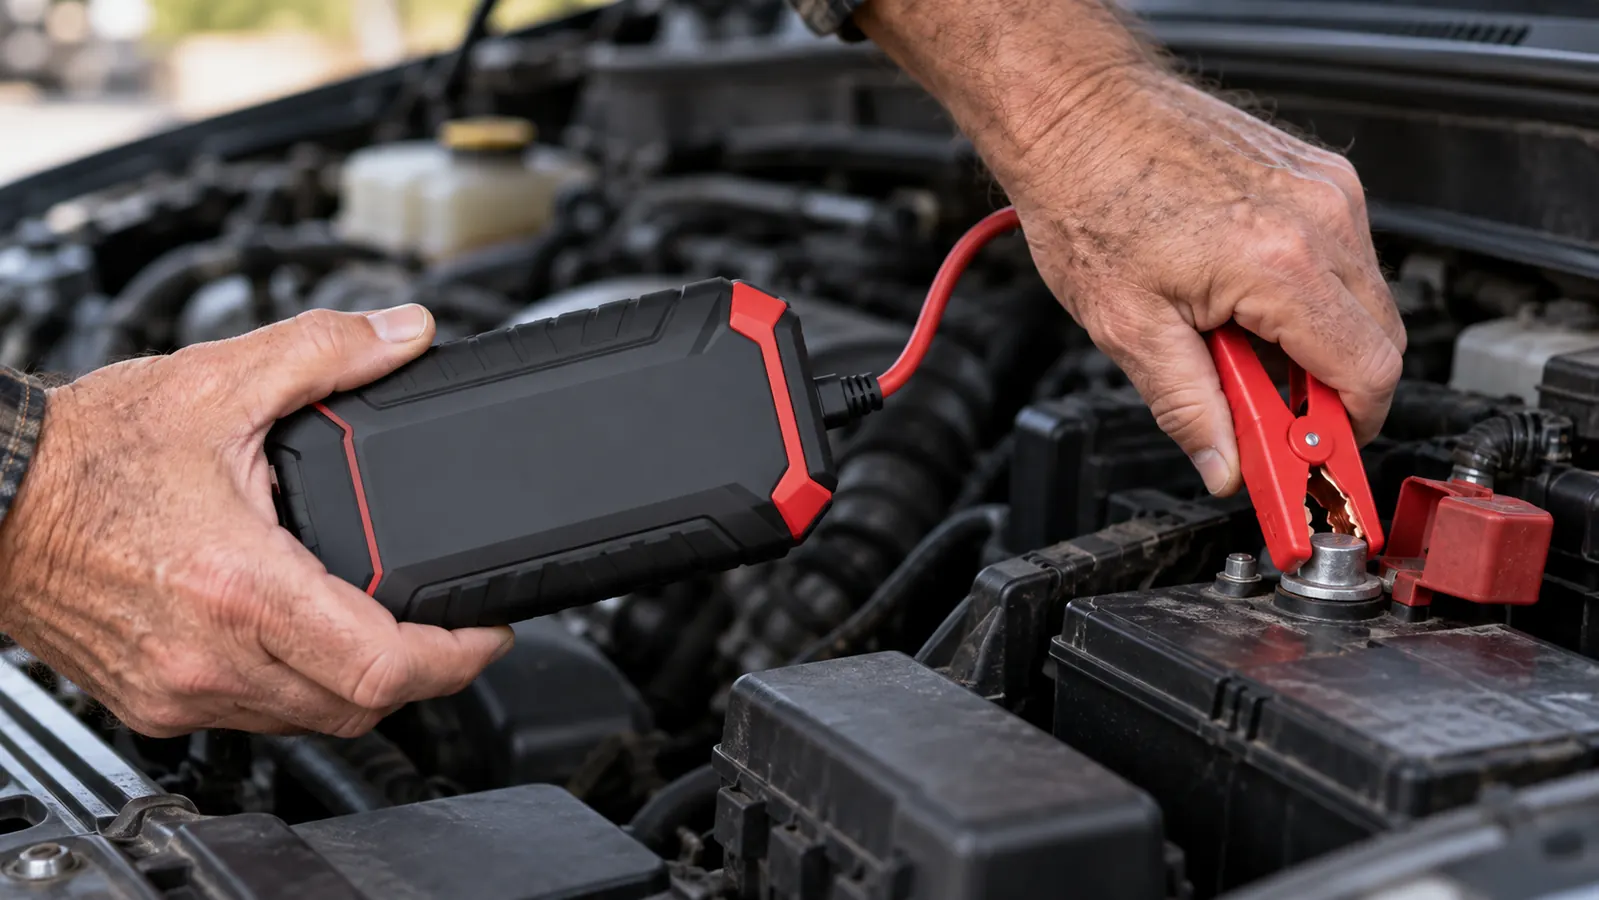
Open the hood and find the battery. On many newer vehicles it is tucked under a plastic cover or behind a headlight, but the positive terminal will have a red cap or a raised plus sign, and the negative terminal is usually black and marked with a minus sign. If you are not sure which is which, stop and look it up. Guessing is how batteries get damaged and how people get hurt. Every vehicle is a little different, and spending thirty seconds confirming what you are looking at is never wasted time.
Take a quick look at the terminals before you connect anything. If there is white or green crust around the posts, that corrosion can keep the clamps from making good contact. A stiff brush or a little baking soda mixed with water will clean it off. In a pinch, I have scraped a terminal clean with the edge of a pocket knife, though I would rather not admit that in print. The point is that a clean, tight connection is the whole ballgame.
While you are under the hood, find a bare piece of metal on the engine block, not too far from the battery. You will not need it if you choose to clamp the black wire to the negative post, but it is a useful option, and I will explain in the next step why I reached for it for years before I owned the NOCO. Knowing where that ground point lives on your own car, when nothing is wrong, is the best habit you can build.
Step 3: Connect the red clamp to the positive terminal first
With the NOCO Boost, you have a short cable with two clamps. Connect the red clamp to the positive terminal of the dead battery first. Clamp it onto the post itself, not just onto the wire attached to the post. Then give it a small tug to make sure it is secure. A loose clamp will cause more problems than a dead battery ever did, because it can arc and leave you thinking the unit has failed when the real problem is a poor connection.
Then connect the black clamp. The safest habit is to attach it to that bare piece of metal on the engine block rather than to the negative battery terminal. This puts the clamp a little farther from the battery, which matters because a battery can vent hydrogen gas, and a tiny spark near that gas is something you never want. The NOCO Boost has spark proof technology that makes this less of a worry, but the habit still pays off when you help a friend whose battery looks nothing like yours.
If you are using jumper cables and a donor vehicle, the order is a little different. Connect red to the positive terminal of the dead battery, then the other red clamp to the positive terminal of the donor battery. Connect black to the negative terminal of the donor battery, then the last black clamp to bare metal on the dead car, away from the battery. The reason for that order is simple: it keeps the final connection away from the battery that might be venting gas.

Step 4: Power on the boost pack and start the car
Once both clamps are connected, turn on the NOCO Boost. There is a power button on the unit, and a light comes on to show that it has read the battery voltage and is ready to send power. You are not charging the battery during this step. You are giving the starter a temporary boost, and the GB40 is built to deliver that strong push without being plugged into a wall outlet. It is one of the reasons I stopped carrying a second set of cables.
Now get in the car and try to start it. Do not crank the engine for more than four or five seconds at a time. If it does not catch on the first try, wait about ten seconds and try again. In my experience, the second try is usually the one that works, and by the third try you start looking for another problem. A battery that will not take a jump at all is telling you something, and that message is usually that it is time for a replacement.
If you are using jumper cables and a donor vehicle, start the donor car and let it idle for two or three minutes before you crank the dead one. That idle time lets the donor alternator send a little charge into the dead battery and makes the starter work less hard. With the NOCO pack, there is no donor vehicle, so you go straight to the ignition after the light says the unit is ready. Both methods work. The NOCO just works with less coordination.
Step 5: Remove the clamps in reverse order and let the alternator take over
The moment the engine catches, leave it running. Do not celebrate by turning it off to see if it will start again, because it probably will not yet, and you will be right back where you started. Instead, remove the black clamp first, then the red clamp, in the reverse of the order you put them on. On the NOCO, switch the unit off before you disconnect anything. That keeps the electronics in the pack happy and prevents any spark near the battery.
Keep the car running for at least ten minutes. If the battery was completely flat, give it twenty minutes, or better yet, take the car for a short drive. The alternator does the real charging work, not the jump pack. The NOCO is a starter's friend, not a battery charger, and expecting a portable pack to refill a dead battery is how you end up stranded twice in one week. Let the engine do the job it was designed to do.
Also know what normal looks like afterward. The clock may be blinking, the radio presets may be gone, and the engine may run a little rough for the first few seconds. That is all a sign that the battery was deeply discharged, not that something else is wrong. What is not normal is a battery that needs a jump again within a week. That is when you stop jump starting and start pricing a new battery, because no amount of good technique will fix a battery that is already done.
What Else Helps
The jump starter gets the credit, but the battery needs a little company to stay healthy. Check the terminals for corrosion every couple of months and make sure the connections are tight. If the vehicle is going to sit for more than two weeks, a battery maintainer is worth owning, especially in Missouri summers when heat seems to be hardest on car batteries. A slow trickle charge can double the life of a battery that would otherwise die from sitting.
I have learned to replace a battery on a schedule instead of waiting for a failure. Most car batteries last three to five years, and my Highlander just crossed 191,000 miles, which means it has seen more than its share of batteries. When the cranking starts to sound slower on a warm morning, that is the warning sign. A jump starter will save you on a cold day, but it will not fix a battery that is already at the end of its life.
For what a unit like the NOCO Boost GB40 costs, it earns its space in the door pocket every winter. You never need it until the day you really need it, and on that day, walking through these five steps will take less time than you used to spend trying to flag down a helpful stranger. I still have the jumper cables in the garage, but they have not been in the car in five years. The NOCO does the same job with none of the coordination.
What I can tell you after five years of carrying a NOCO Boost is that the pack will do its job every time. The order you connect and disconnect the clamps is the job you have to do yourself.
Stop relying on strangers and jumper cables
The NOCO Boost GB40 has started my Highlander three times without another vehicle in sight. Follow these steps once, practice them once in your driveway on a battery that is not dead, and you will never be stranded by a flat battery again. Check today's price on Amazon and put one in your car while you are thinking about it.
Amazon Check Today's Price on Amazon →